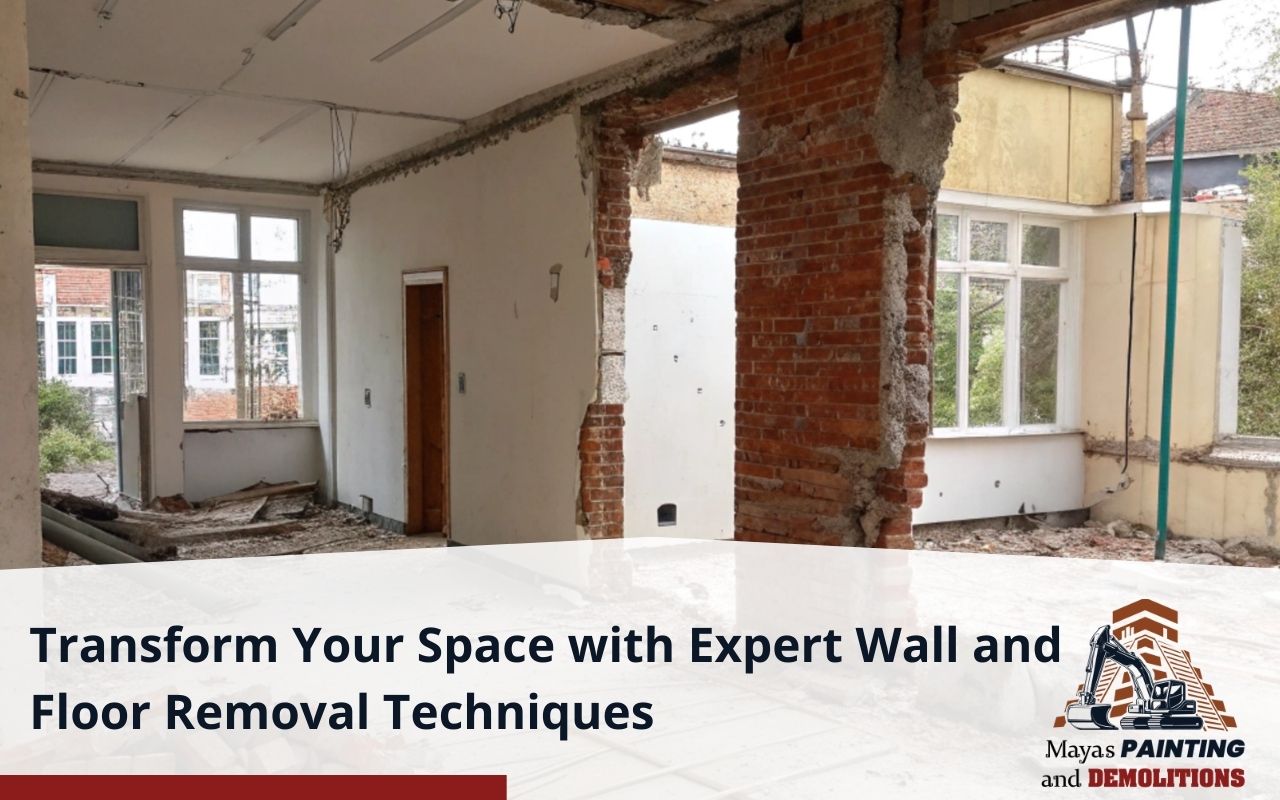
Imagine walking into a room that feels completely new, full of possibilities, and tailored just for you. The secret to achieving such a transformative experience often lies in the overlooked art of wall and floor removal.
While some might see it as a mere step in renovation, experts know it’s the foundation for unlocking a space’s full potential. Whether you want an open-concept living area or a functional workspace, mastering wall and floor removal can breathe new life into your surroundings.
This post will guide you through essential strategies and insider tips used by seasoned professionals to ensure seamless interior demolition. From understanding structural intricacies to selecting the right tools for your project, we’ll explore all the nuances that make renovation smooth and successful.
Get ready to reimagine your space and discover the powerful impact that strategic wall and floor removal can have on both aesthetics and functionality.
Assessing Structural Considerations Before Demolition
Before swinging a sledgehammer or prying out floorboards, answer a key question: What is interior demolition in construction? Essentially, it involves the careful removal of walls, floors, or ceilings to reconfigure a space.
Assessing structural considerations starts with identifying load-bearing walls, support beams, and columns. Hiring a structural engineer or qualified contractor at this stage is crucial. They will verify which walls can be safely removed without compromising integrity.
Understanding local building codes and securing permits prevents costly delays, especially when your project includes significant wall and floor removal.
Next, review architectural plans to locate hidden utilities like HVAC ducts, plumbing lines, and electrical conduits. Use a stud finder, metal detector, or wall scanner to locate wiring and pipes. Skipping this step risks damage, safety hazards, or service interruptions.
Thorough assessment protects the building’s framework and ensures your wall and floor removal process is efficient and accident-free. Planning carefully sets the stage for a smooth demolition phase.
Essential Tools for Efficient Wall and Floor Removal
- Heavy-Duty Sledgehammer: Ideal for breaking drywall and tile during wall and floor removal.
- Reciprocating Saw: High-torque saw with demo blades for precise cutting through wood, metal, and PVC.
- Demolition Hammer: Quick work on concrete subfloors or thick mortar beds.
- Safety Gear: Hard hat, safety goggles, dust masks, gloves, and steel-toe boots.
- Dust Containment Systems: Shop vacuums, HEPA filters, plastic sheeting, dustpan, push broom, and magnetic sweeper for efficient cleanup.
Preparing the Space for Demolition Work
Proper preparation minimizes setbacks and ensures safety throughout your wall and floor removal project. Clear out furniture, fixtures, and décor from the work zone.
Remove loose items, cover immovable pieces with plastic sheeting, and tape drop cloths to floors. This protects belongings and contains dust and debris.
Create a separate entrance or barrier to prevent dust spreading into other parts of the home. Shut off utilities feeding the demo area. Turn off electricity at the circuit breaker and label switches.
Close water valves and drain remaining lines. Mark active power and plumbing routes, and work with licensed professionals when rerouting utilities. With the space prepped, you’re ready for demolition confidently.
Strategies for Floor Removal: From Tiles to Hardwood
Remove tile flooring by breaking up grout lines. Use a rotary hammer or oscillating multi-tool fitted with a grout removal blade. Then, pry tiles with a bar or hammer.
Be cautious of underlayment. Cement boards require a stud finder to locate fasteners, removed before lifting panels underneath.
For vinyl or linoleum, score the surface with a utility knife and peel off sheets. Residual adhesives may need a floor scraper or chemical remover.
Hardwood and engineered wood floors follow similar logic. Lift boards from the tongue edge and pull up by hand or pliers. Remove nails embedded in joists using a reciprocating saw. Laminate floors click apart easily. Maintain steady pace, proper lifting techniques, and clear debris regularly.
Dealing with Electrical and Plumbing During Demolition
Prioritize safety when encountering electrical and plumbing systems during wall and floor removal. Shut off power at the main breaker and test circuits with a voltage tester before exposing wiring.
Label circuits supplying outlets, switches, and fixtures. For permanent changes, consult a licensed electrician. Turn off water supply at shut-off valves and drain lines for plumbing. Mark live pipes and capped connections. Hire professionals for rerouting to avoid leaks and pressure issues.
FAQs
What is the safest way to perform wall and floor removal?
Always plan ahead, shut off utilities, wear safety gear, and follow building codes. Consulting professionals ensures safety.
Do I need permits for interior demolition?
Yes. Local codes often require permits, especially when removing walls that may be load-bearing.
Can I remove floors myself?
Yes, with proper tools and techniques. However, hardwood or tile removal may need expert guidance to avoid damage.
How do I protect surrounding areas during demolition?
Use plastic sheeting, drop cloths, and barriers to contain dust and debris effectively.
Expert Tips for a Seamless Wall and Floor Removal Process
- Detailed Timeline: Plan each phase for inspections, demolition, cleanup, and reconstruction.
- Rent a Roll-Off Dumpster: Keep the site clear and organized.
- Stock Up on Supplies: Extra demo blades, nails, and safety gear minimize downtime.
- Effective Communication: Coordinate with team members for smooth task integration.
- Prioritize Safety and Ergonomics: Focus on ventilation, dust containment, and proper lifting techniques.
Finishing Touches: Cleaning and Preparing for Reconstruction
After completing wall and floor removal, thorough cleaning is essential. Remove large debris, sweep, and vacuum with HEPA filter. Wipe down surfaces to remove dust.
Inspect exposed studs, joists, and subfloors for damage. Replace compromised sections and apply wood hardener or patching compound. Ensure walls are plumb and floors level.
If subfloor is uneven, use self-leveling compound. Apply primer or sealant to protect surfaces before painting or installing new flooring.
With the space clean and prepped, you can confidently start reconstruction. For guidance, check our pre-demolition checklist or learn more about interior wall removal. For personalized advice, contact us here.
