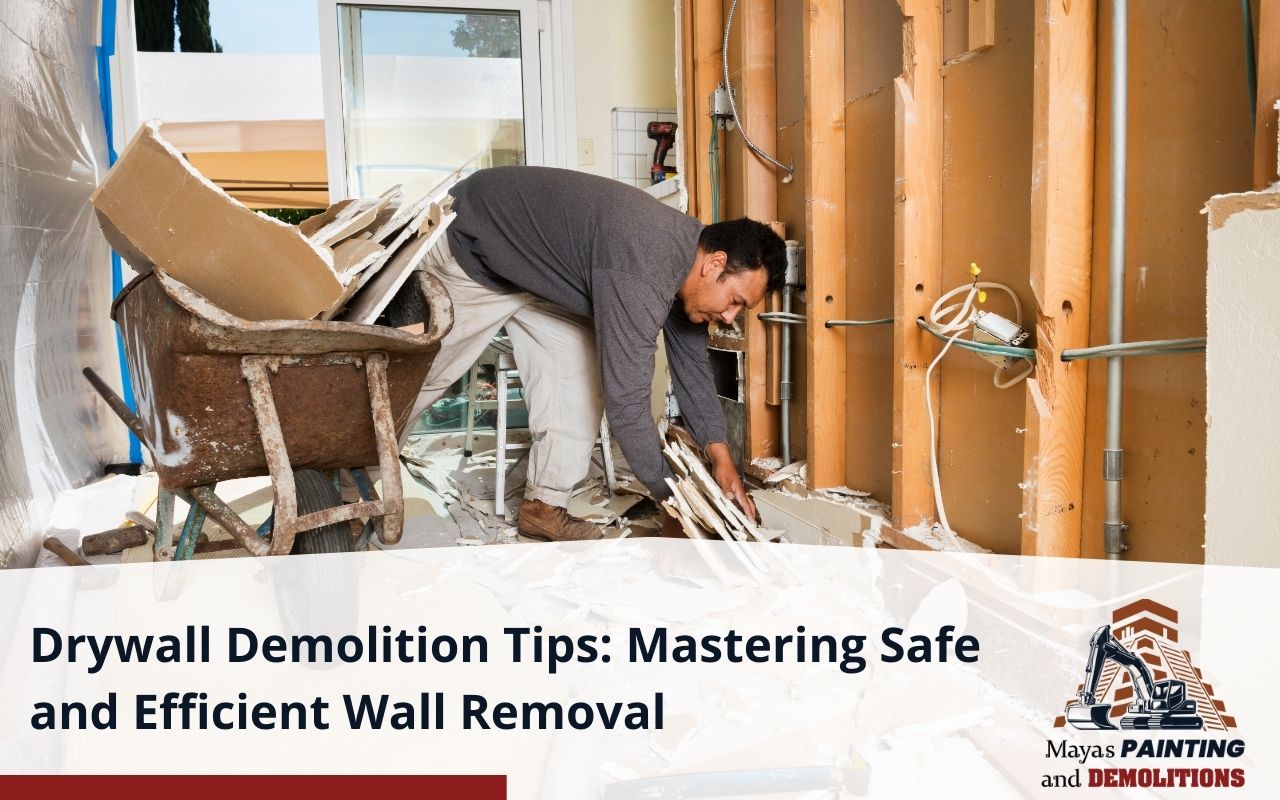
Tearing down a wall may seem intimidating, but it can transform your living space. Perhaps you’re dreaming of an open-concept kitchen or a larger living room. Regardless of your vision, successful drywall demolition is the first crucial step. Yet, the process isn’t just swinging a sledgehammer; it demands a strategic, safety-conscious approach to protect both you and your home. In this guide, we explore essential drywall demolition tips that prioritize safety and efficiency. From identifying structural elements to disposing of debris, you’ll be prepared for your project. Whether a seasoned DIYer or a curious novice, mastering these techniques empowers you to transform your home with skill.
Assessing Structural Integrity Before Demolition
Before swinging any tool, confirm if a wall is load-bearing or a simple partition. Examine blueprints or consult a contractor. Look for beams, joists perpendicular to the wall, and columns supporting upper floors. Check headers above doors and windows for clues about weight-bearing walls. Proper assessment avoids compromising stability and prevents costly repairs. Evaluate wall conditions too: cracks, moisture damage, or mold may affect the process. Take note of insulation, plumbing, or wiring that could be hidden. Using drywall demolition tips starts with thorough inspection, ensuring safe removal and minimal collateral damage.
Gathering the Necessary Tools and Safety Equipment
- Utility Knife: Essential for scoring and cutting drywall, allowing precise and controlled demolition.
- Safety Goggles: Protects eyes from dust, debris, and flying particles.
- Dust Mask or Respirator: Safeguards the respiratory system, especially when asbestos may be present.
Creating a Demolition Plan for Efficiency
Effective drywall demolition tips rely on planning before the first strike. Outline task sequences: protective measures, debris removal, and cleanup. Schedule stages like removing fixtures first, panels next, and framing last. Designate staging areas to streamline the process. Establish milestones, such as completing one wall section per day. Factor in inspections, especially after exposing wiring or plumbing. A well-structured plan saves time, increases safety, and prevents chaos.
Protecting Floors, Furniture, and Adjacent Walls
Before touching a hammer, safeguard surroundings. Lay thick drop cloths or plywood to protect floors. Mask off doorways with plastic sheeting and tape to control dust. Move small furniture and cover larger items with tarps. Protect adjacent walls using corner guards. Seal vents and doorways to maintain clean air in unaffected areas. Following these drywall demolition tips preserves your home and eases post-project cleaning.
Removing Fixtures and Electrical Outlets Safely
Deactivate power and utilities to prevent electrocution. Turn off circuit breakers and verify with a voltage tester. Remove switch plates, outlet covers, and light fixtures carefully, keeping screws for reuse. Label wires for future reconnection and wrap exposed ends with tape. Shut off water supply if plumbing lines are present. Handling utilities properly ensures safety and prevents damage to the remaining structure.
Techniques for Breaking Down Drywall
- Score with Utility Knife: Creates clean break points and reduces dust.
- Use Pry Bar: Loosens drywall from studs gradually, minimizing accidental damage.
- Reciprocating Saw: Enables precise cuts around obstacles like pipes or wires.
Dealing with Unexpected Discoveries Behind the Walls
Stripping drywall often reveals surprises: old wiring, hidden pipes, or mold. Consult licensed electricians or plumbers as needed. Address mold or water damage immediately. Document issues with photos and notes. Incorporate remediation steps into your renovation plan. Tackling obstacles proactively ensures a solid foundation for the next project phase. You can also review our pre-demolition checklist for further preparation.
Cleaning Up and Properly Disposing of Debris
Sort and remove debris efficiently. Separate sheets, studs, and plaster fragments. Use contractor bags or dumpsters. Follow regulations for asbestos or lead-containing drywall. Sweep the workspace and vacuum with HEPA filters. Clean tools and store properly. A meticulous cleanup ensures safety and prepares for the next construction stage. Learn more about interior demolition costs and proper disposal methods.
Frequently Asked Questions
What safety precautions should I take before starting drywall demolition tips work?
Shut off circuits, use voltage testers, wear safety goggles, dust masks, gloves, and sturdy footwear. Protect surrounding areas with drop cloths and plastic sheeting.
How can I tell if a wall is load-bearing?
Load-bearing walls run perpendicular to floor joists and support beams above doors or windows. Review structural plans or consult an engineer for older homes.
What should I do if I find mold or water damage behind the drywall?
Stop demolition, contain the area with plastic, and call a mold remediation specialist. Fix the moisture source before installing new drywall.
Can I reuse framing materials removed during drywall demolition tips sessions?
Inspect studs for damage, rot, or warping before reuse. New lumber may be safer to meet building codes and structural integrity requirements.
How do I dispose of drywall debris responsibly?
Load large pieces into a dumpster and smaller fragments into heavy-duty bags. Follow local regulations and hire licensed waste haulers if needed.
Celebrating Your Successful Wall Removal Project
Congratulations—your drywall demolition is complete! Reflect on the drywall demolition tips you used from inspection to cleanup. Now you’re ready for framing, finishing, and decorating. Enjoy your open space and the insights gained for future projects. Explore our contact page to schedule professional help or guidance. For further guidance, check out our interior wall removal guide and partial demolition services.
